In this tutorial, you will learn to Install the latest CMake on Fedora 39 from the Command Line Terminal. To get the latest version of CMake, you can easily build it from the source. CMake is an open-source build system that has the following features:
- Cross-Platform Compatibility
- Flexible Configuration
- Extensible Architecture
- Multiple Build System Support
- Active Community
- Out-of-Source Builds
Steps To Install the Latest CMake on Fedora 39 Command Line
Before you start to build your CMake tool, you must have access to your Fedora server as a non-root user with sudo privileges. Then, follow the steps below to complete this guide.
Step 1 – Required Packages for Installing CMmake in Fedora 39
First, you must run the system update with the command below:
sudo dnf update -yThen, use the command below to install some required packages that are needed for building CMake:
sudo dnf install gcc gcc-c++ openssl-devel bzip2-devel libffi-devel zlib-devel wget make -yStep 2 – Download CMake From Source in Fedora 39 Command Line
At this point, you must visit the GitHub Release page and get the latest stable version of CMake for Linux with the following wget command:
sudo wget When your download is completed, extract it by using the following command:
sudo tar -zxvf cmake-3.27.7.tar.gzThen, navigate to your CMake directory in Fedora 39:
cd cmake-3.27.7Step 3 – Compile and Build the Latest CMake on Fedora 39
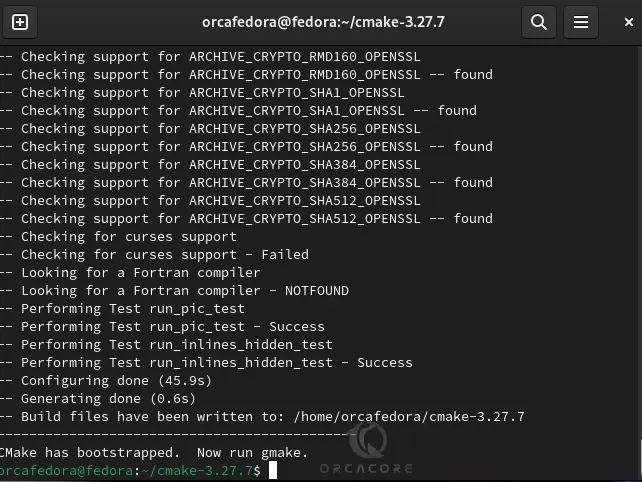
At this point, you can start the build process of CMake. First, you must run the bootstrap script with the command below:
sudo ./bootstrapWhen it is completed, you will get the following output:


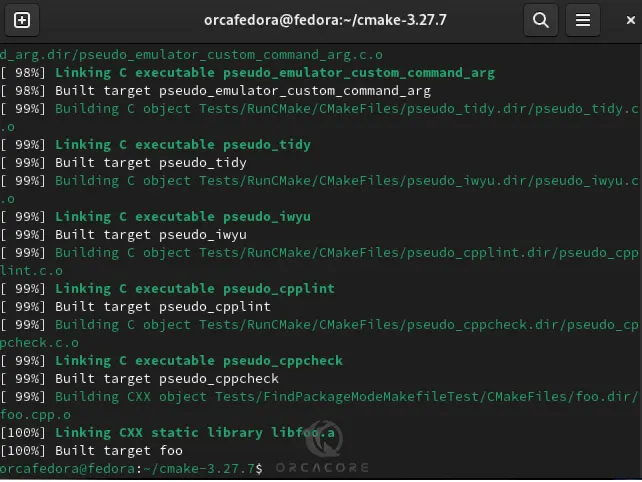
Then, you can start to build CMake on Fedora 39 with the following command:
sudo makeIt will take some time to complete. When it is completed, you will see:


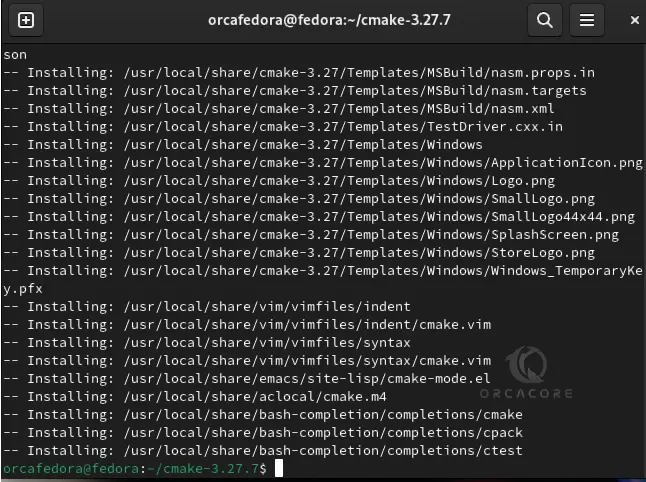
Now you can install CMake by using the following command:
sudo make install

Finally, you can verify your installation by checking its version:
sudo cmake --version

Step 4 – (Optional) Test CMake Installation on Fedora 39
At this point, you can test your CMake by creating a sample project Hello World on Fedora 39.
First, you need to create a directory for your project and switch to it with the following commands:
# sudo mkdir cmproject
# cd cmproject
Then, you need to create a C++ source file with your favorite text editor like vi editor or nano editor:
sudo vi hello.cppAdd the following content to the file:
#include <iostream>

int main()
{
    std::cout << "Hello World!\n";
    return 0;
}
When you are done, save and close the file.
Next, you need to create the CMakeLists.txt file (with this exact capitalization) which is required by CMake:
sudo vi CMakeLists.txtThe root directory of the project ( ~/cmproject in this case) must contain a CMakeLists.txt file. Each line in a CMakeLists.txt file has a command.
cmake_minimum_required(VERSION 3.13)  # CMake version check
project(MyProject)               # Create project "MyProject"
set(CMAKE_CXX_STANDARD 14)            # Enable c++14 standard
add_executable(hello hello.cpp)
When you are done, save and close the file.
It’s recommended to have a separate build directory for executables. To do this, run the following command:
sudo mkdir buildThe project structure looks like this now:
sudo tree 

To run CMake, you need to switch to your build directory on Fedora 39:
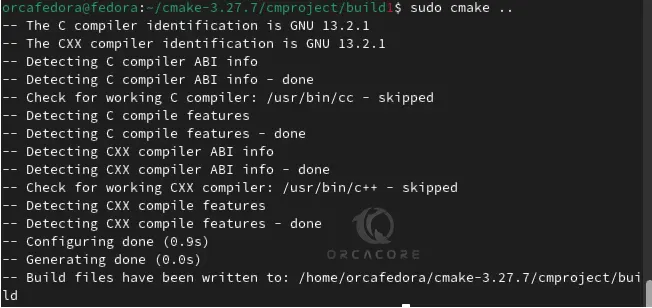
cd buildRun the CMake command:
sudo cmake ..

Note: The .. is an alias for the parent directory and tells cmake to find the CMakeLists.txt file in the parent directory. If you see CXX anywhere while working with CMake, it refers to C++ as CXX.
Now you can generate the executable simply by typing:
sudo cmake --build .

Then, run the executable file:
sudo ./hello

That’s it. You are done.
Conclusion
At this point, you have learned to Install the latest Stable CMake Version on Fedora 39 from the Command Line Terminal. Also, you have learned to test your CMake installation by creating a sample project.
Hope you enjoy using it. For more guides and articles, you can visit the Orcacore website.


